Boundary Conditions#
Overview
This module will outline how to add a storm tide to the boundary of the project.
Required Data
The required data is in project data folder.
File |
Content |
|---|---|
*.txt |
Tide table |
Data Location: \Coastal 2D Training\Project Data\Boundary Conditions
Step 1: Prepare the map#
Uncheck the following layers:
Soil Training
LandUse Training
Check Elevation Raster
Double click the Elevation Raster layer. Set the symbology to Hillshade and click OK.

Step 2: Set up the boundary polygon#
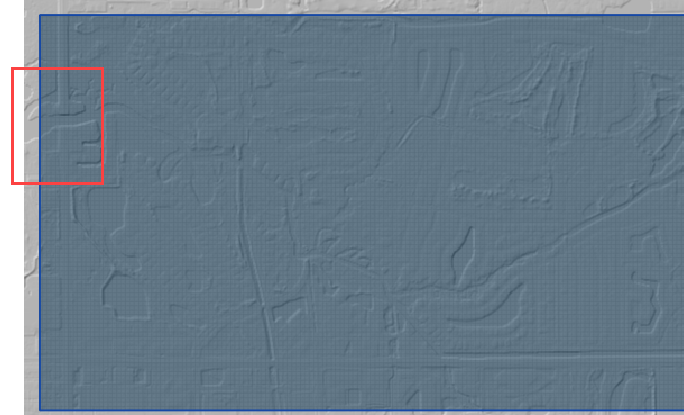
Use the mouse wheel to zoom to the west side of the project where the water leaves the grid. Roll the mouse wheel in and out to zoom. Click the mouse wheel to drag the map.
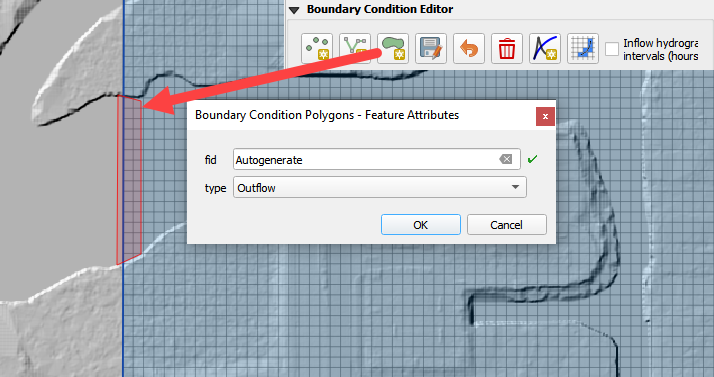
Collapse the FLO-2D widgets and click Boundary Condition Editor.

Click the polygon button and draw a polygon across the Cocohatchee outlet.
Right click to close the polygon. Set the type to Outflow and click OK.
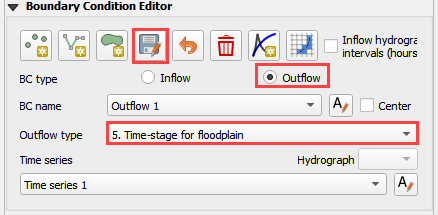
Click the Boundary Condition Editor Save button. Set the BC type to Outflow. Set the Outflow type to 5.
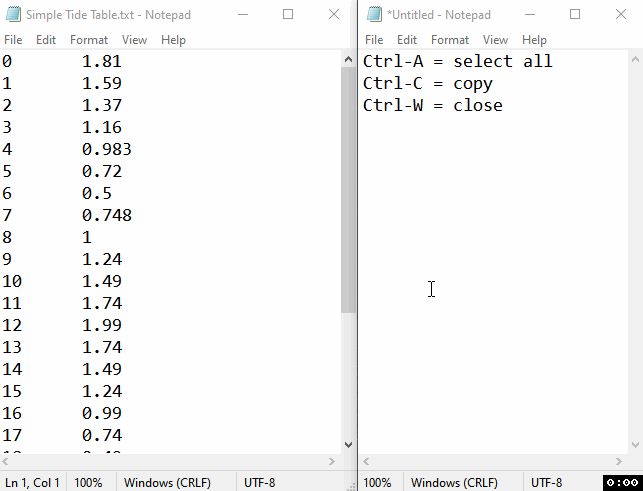
In the project folder, open the storm tide text file in NotePad.
\Coastal 2D Training\Project Data\Boundary Conditions\Simple Tide Table.txt
Ctrl-A will select all of the data.
Ctrl-C will copy the data.
Press Ctrl-W will close the file.
Click on the first cell of the FLO-2D Table Editor and click the Paste Button.
Set the first stage to -3.5ft. This will allow the boundary to fill slowly and help prevent instability.
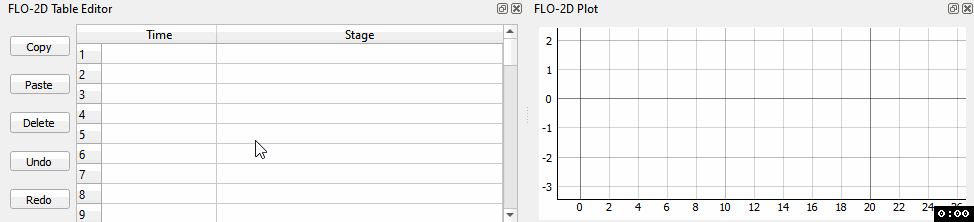
Name the time series and click the Schematize button.

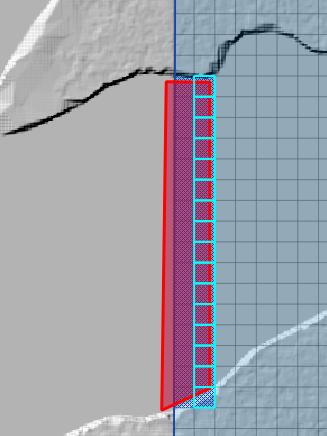
The boundary should look like this:
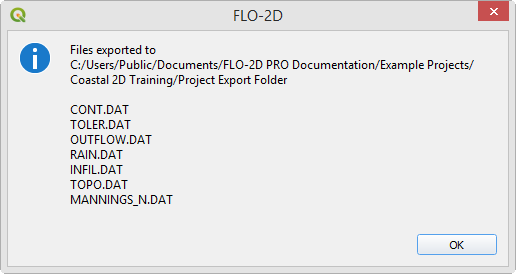
This data will be saved to the OUTFLOW.DAT file.
Step 3. Save, export, and run#
This is a good point to save project.
It is not necessary to set Control Variables for Boundary Conditions.
If the project is still running, close it.

Export the data files.

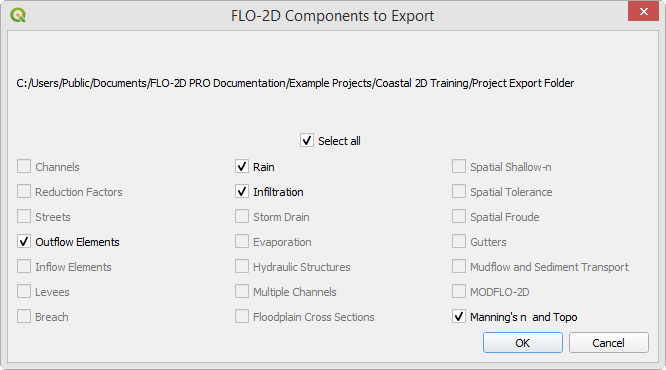
Save the data to the Project Folder and click OK to close the message.
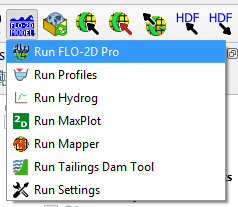
Run the model. It isn’t necessary to apply Run Settings this time. The Export button updated the settings.
Let the project run and continue on to the next step.
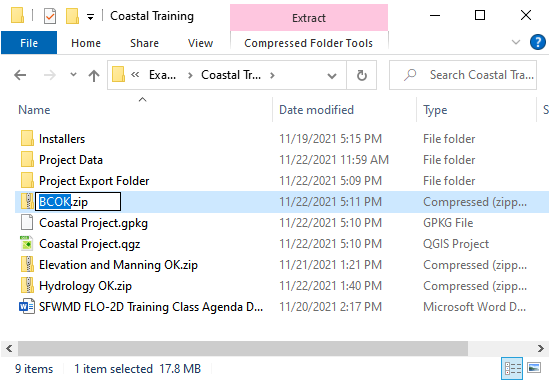
Step 4: Create a backup file#
Close QGIS.
Open the project folder. Select the Coastal Project.gpkg and Coastal Project.qgz files. Right click them and click Sent to/Compressed (zipped) folder.
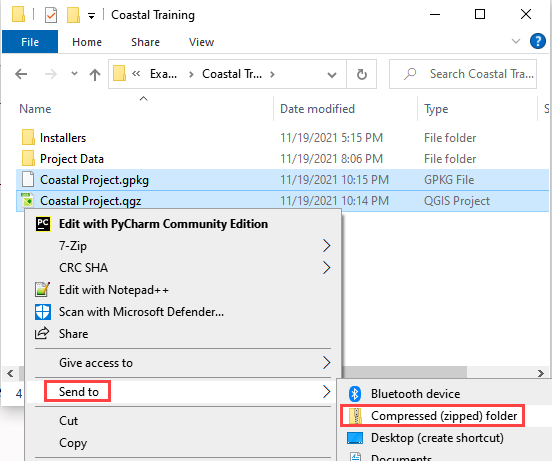
Name the zipped file. It is good to choose a name that identifies project progress. For Example: BCOK.zip
Open QGIS and reload the project.
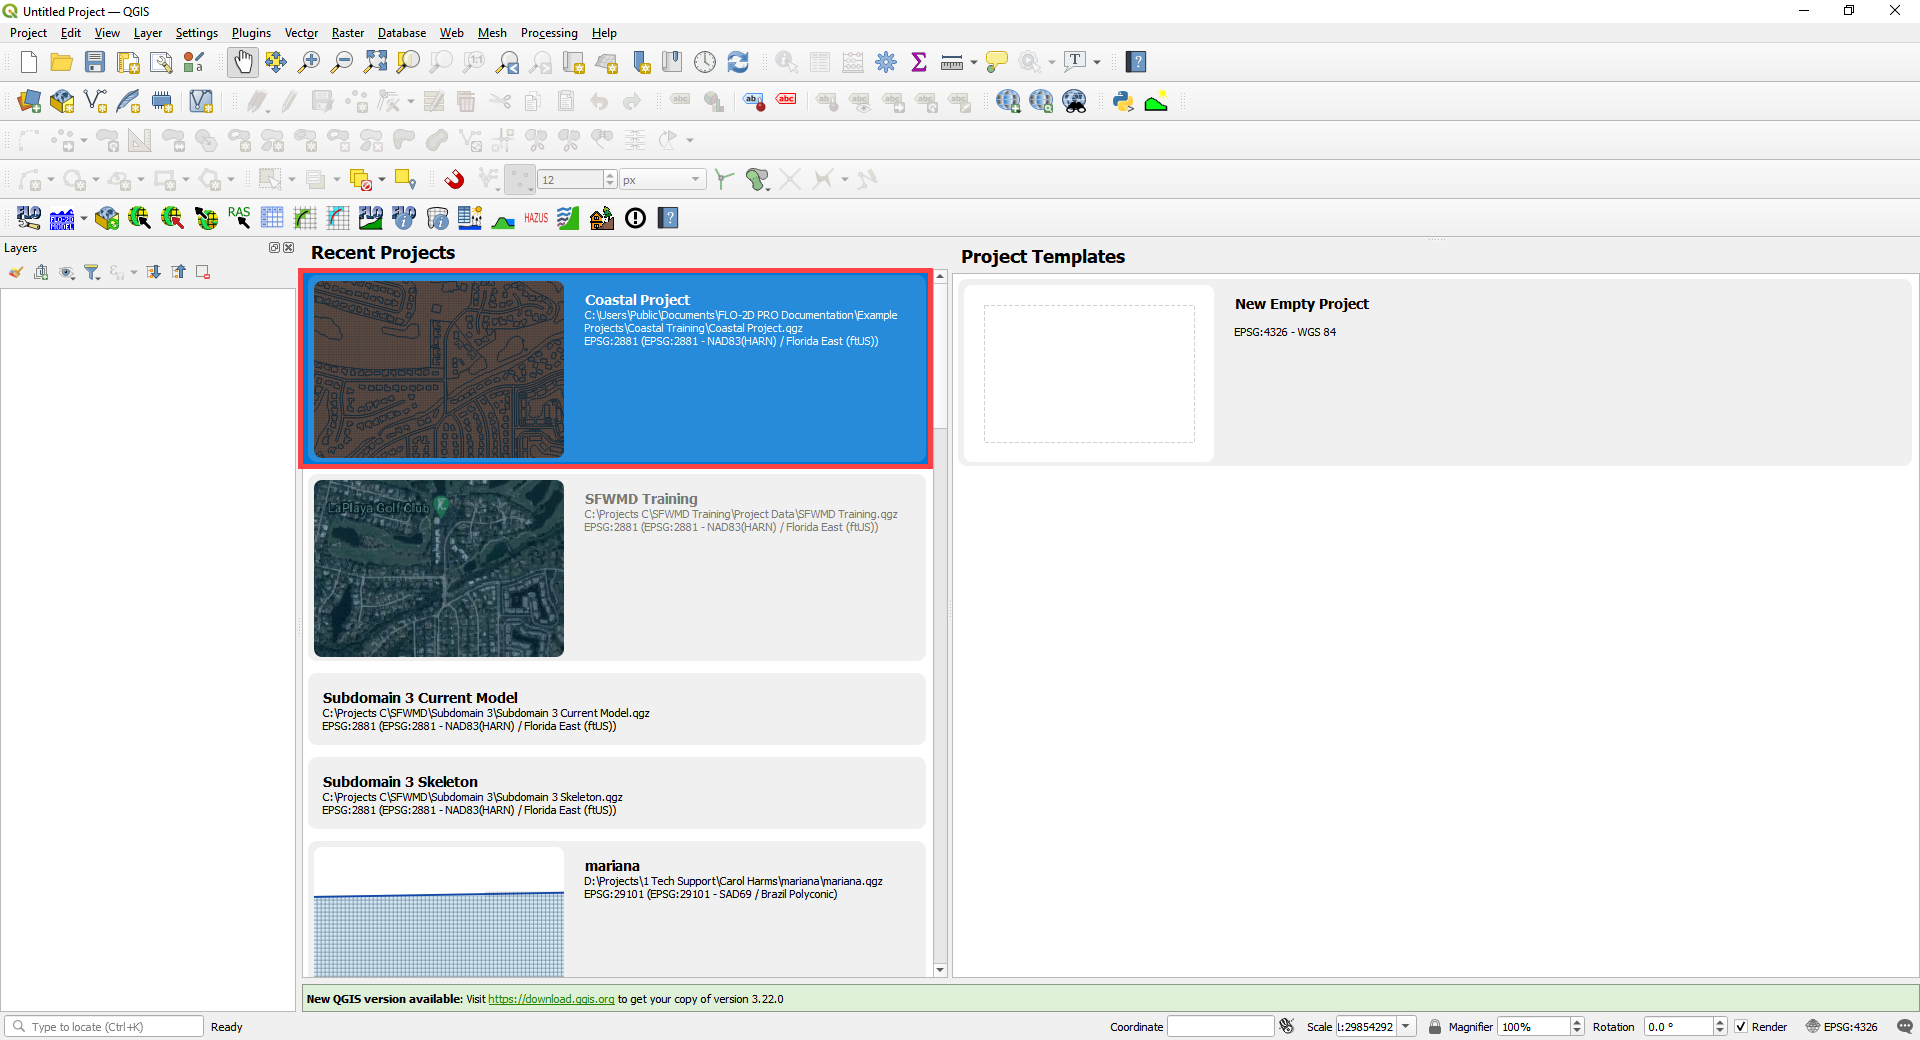
Click yes to load the model.