Lesson 1 Part 2 – Project Recovery Methods#
Overview#
Think of this as making a backup of a document. It is a simple method to protect the data in case something goes wrong in the next lessons. Once a user gains more experience, this method won’t be as important.
Required Data#
The lesson has a QGIS project file, Geopackage file, FLO-2D Data Export files and FLO-2D Project Run files.
File |
Content |
Location |
Lesson 1.qgz |
QGIS file |
QGIS Lesson 1 |
Lesson 1.gpkg |
FLO-2D GeoPackage |
|
*.DAT files |
FLO-2D data files |
Project Location C:\Users\Public\Documents\FLO-2D PRO Documentation\Example Projects\QGIS Tutorials
Check these folders to ensure the data is available before starting the lesson. Lesson 1, Part 1 should be completed first.
Step 1: Organize the map layers#
Manage the map layers by grouping the data from Lesson 1 Part 1 to a group called Project Data.
Right click Project Domain and click Move to Bottom.
Select Elevation and Manning_n layers and right click them. Click Move Out of Group.
Select Elevation and Manning_n layers and right click them. Click Move to bottom.
Select Project Domain, Elevation, and Manning_n and right click them. Click Group Selected.
Name the group Project Data.
This GIF image will show an animation of the process.
Simplify the Layers Groups.
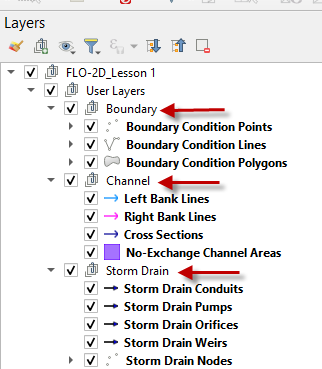
Select the Boundary layers. Right click and click Group Selected. Name the group Boundary.
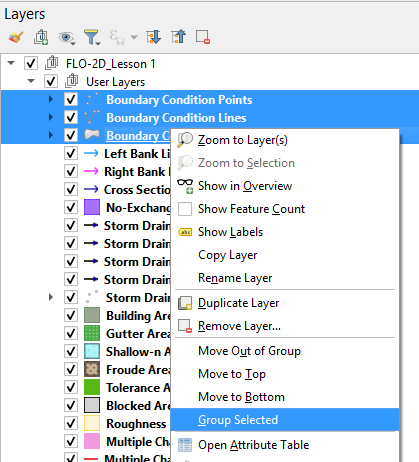
Select the Channel layers. Right click the layers and click Group Selected. Name the group channel.
Select the Storm Drain layers. Right click the layers and click Group Selected. Name the group Storm Drain.
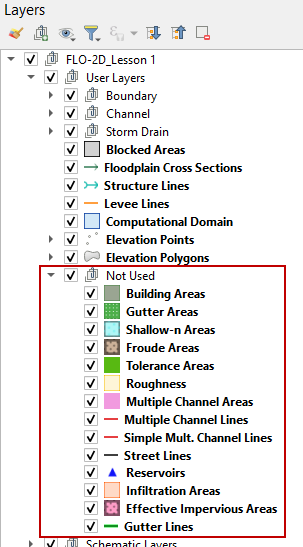
Select less commonly used layers and group them as Not Used.
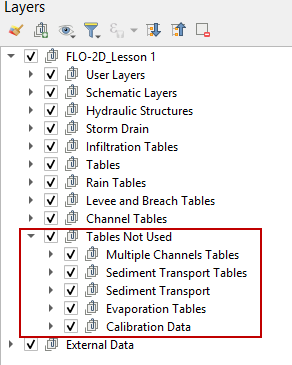
Select the less commonly used tables and group them as Tables Not Used.
Step 2: Create a recovery file#
If the QGIS is still open, save and close it.
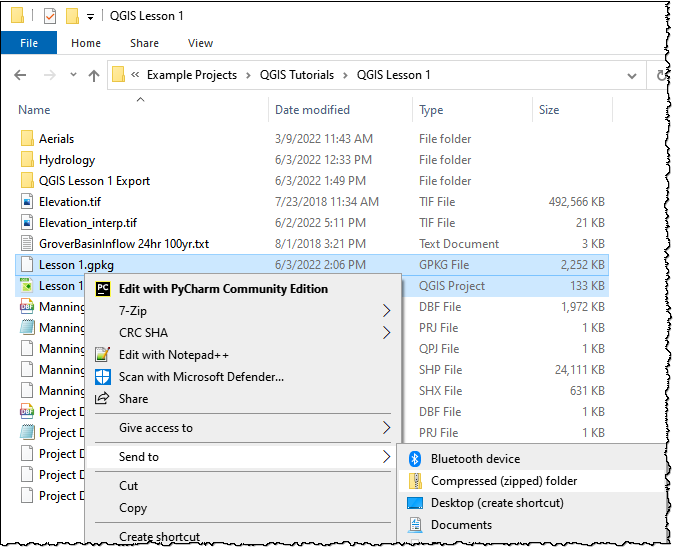
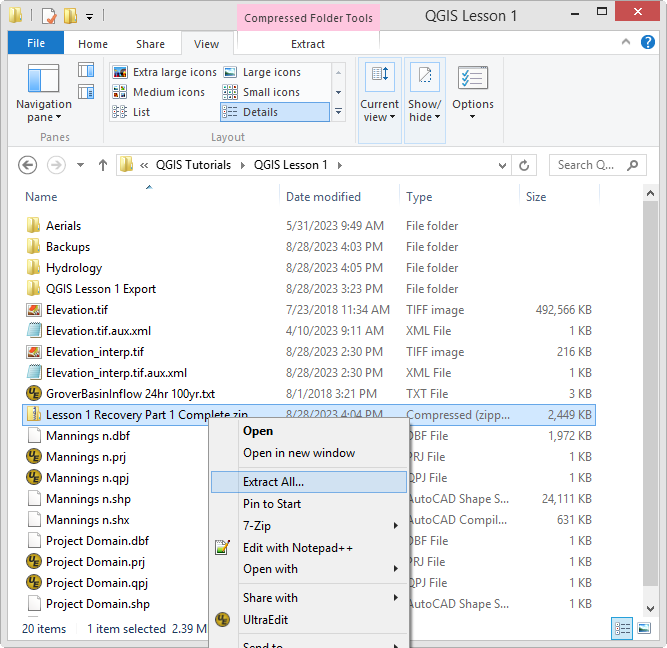
Find QGIS Lesson 1 in a File Browser. Select the Lesson 1.gpkg and Lesson 1.qgz files and zip them. This will create a recovery file.
Name the zipped file. It is good to choose a name that identifies project progress. For Example: Lesson 1 Part 1 Complete.zip.
Repeat this step after any time a Backup or Recovery Point is desired.
Step 3: Recover a project#
Note
Don’t complete this step unless a project is corrupted. A corrupted project means the user cannot continue with steps of a lesson.
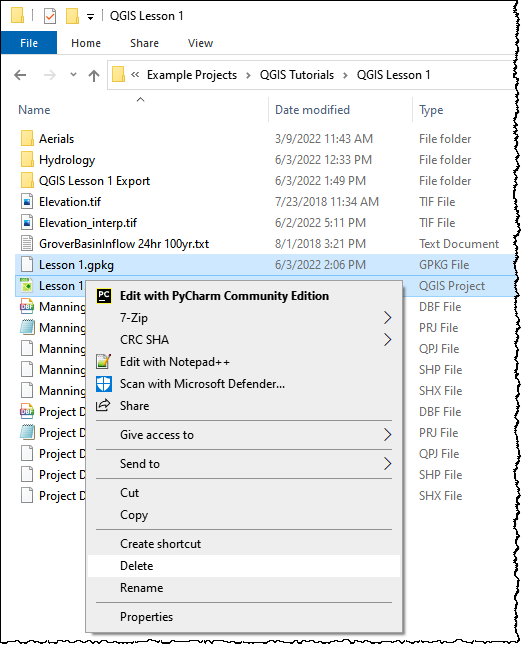
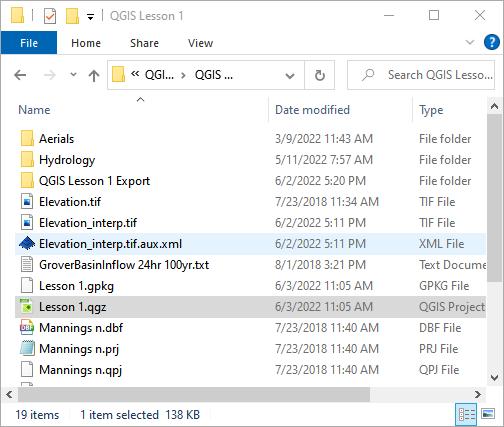
In the Lesson 1 Folder, select Lesson 1.gpkg and Lesson 1.qgz and delete them both.
Extract the recovery files. The example below uses Lesson 1 Recovery Files.zip.
Change the name of the path so the file can be extracted directly to the Lesson 1 folder.

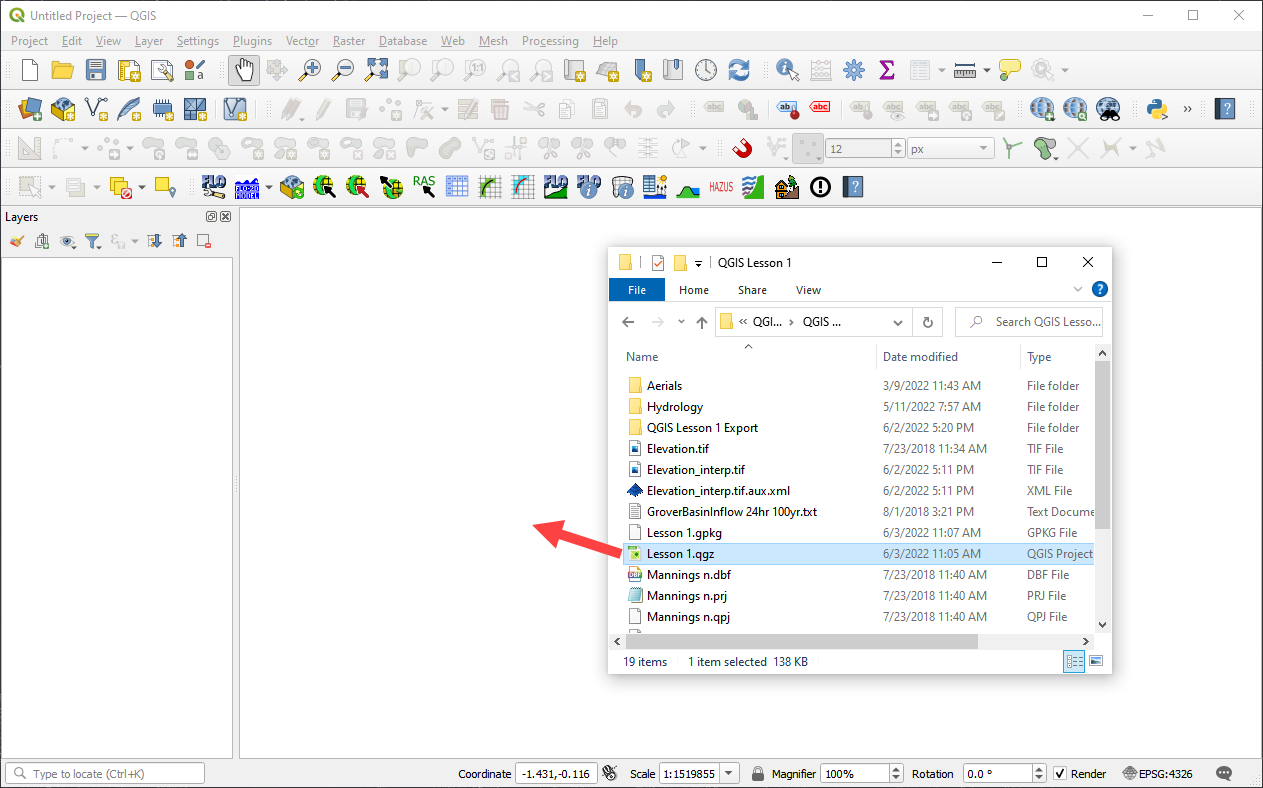
Step 4: Open the project#
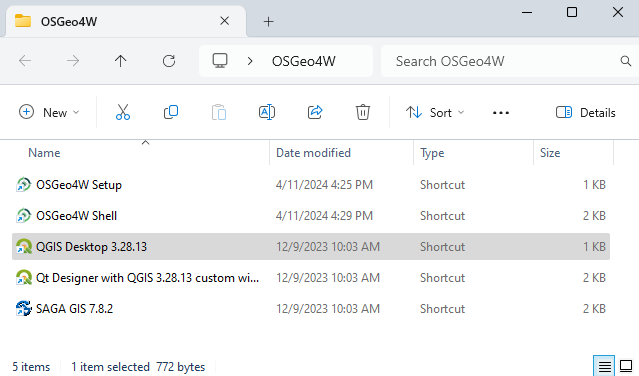
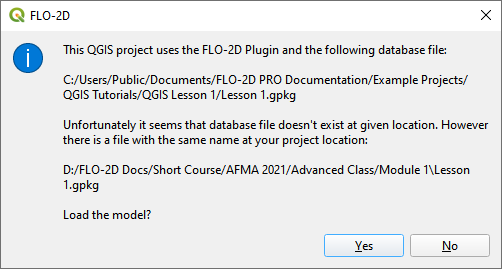
Open QGIS and drag Lesson 1.qgz onto the map space the file in QGIS and Load the Project into the FLO-2D Plugin.
Click Yes to load the plugin.
Note
If the project path changes, the plugin will recognize the path change and try to load the model from the new path.
Warning
If the project path changes but an old geopackage remains in the previous path, it will be loaded and can corrupt the project. Delete old gpkg and qgz files that may corrupt the project.