
Install QGIS and the FLO-2D Plugin#
QGIS is an open-source geographic information system software designed for spatial data analysis and visualization. The FLO-2D Plugin uses QGIS tools to effectively prepare FLO-2D data, providing an enhanced modeling experience within a user-friendly environment.
Step 1: QGIS Installer#
Follow these instructions to set up QGIS.
Double click the QGIS-OSGeo4W-3.28.11-1.msi file.
Finish installing with the default settings.
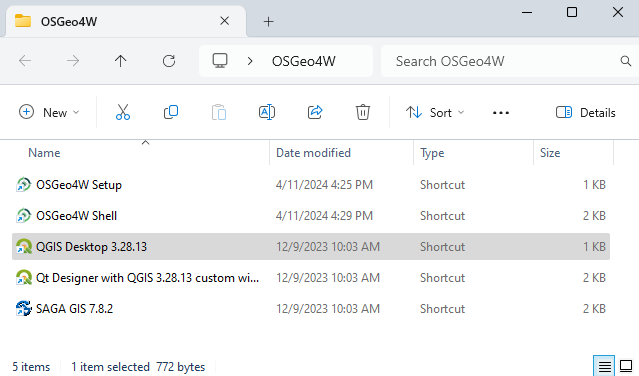
Open QGIS.
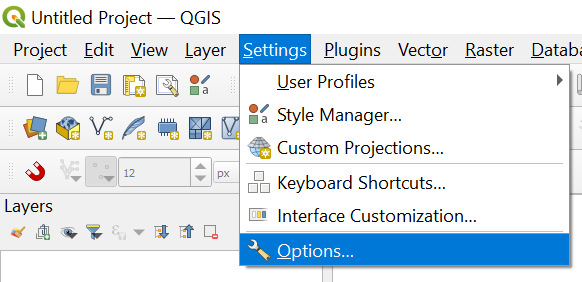
Click Settings/Options
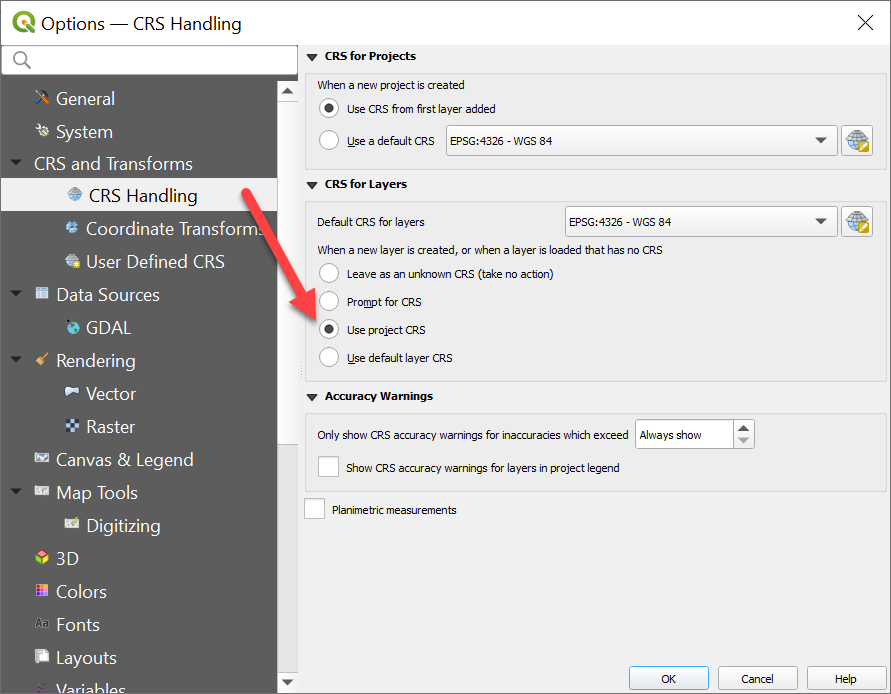
Click the CRS tab and set the options as shown below. Use CRS from first layer added. Use Project CRS. Click OK to close the window.
Step 2: FLO-2D Plugin#
With QGIS installed it is time to add the FLO-2D plugin and a few other handy plugins.
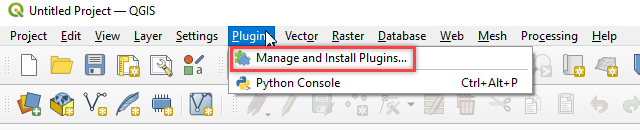
Navigate to the plugin manager.
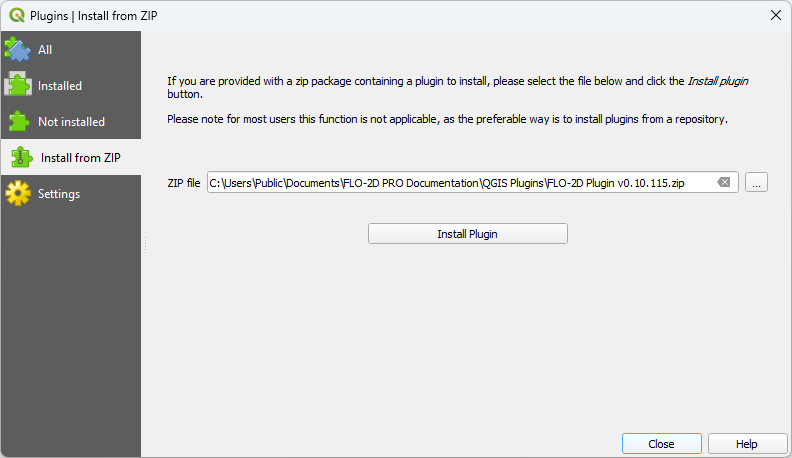
Install the FLO-2D Plugin from a zip file.
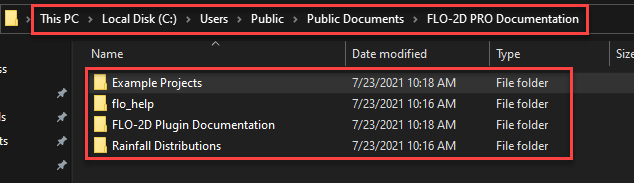
Plugin Location C:\Users\Public\Documents\FLO-2D PRO Documentation\QGIS Plugins
Step 3: Additional Plugins#
These are also some recommended plugins. Install them using the All Menu.
FLO-2D Rasterizor
FLO-2D MapCrafter
Quick Map Services
Profile Tool
Curve Number Generator

Quick Map Services requires one more step. Click Quick Map Services icon and click Settings. On the settings window, go to More Services and click Get Contributed pack. On the Visibility window, uncheck the unwanted maps. Watch this Gif to see the process.

This concludes the installation and setup. The tutorial data is here:
C:\Users\Public\Documents\FLO-2D PRO Documentation\Example Projects\QGIS Tutorials
QGIS Server Installer Method#
If you need to import or export hdf5 files, please use this method for installing QGIS.