
Hydrology#
Overview
This lesson will outline the process for setting up a rainfall runoff model using a 24-hour Probable Maximum Precipitation (PMP) and spatially variable infiltration data.
Required Files
C:\Users\Public\Documents\FLO-2D PRO Documentation\Example Projects\Tailings Dam Workshop
File |
Content |
Location |
|---|---|---|
Rainfall Distribution.DAT |
Rainfall distribution curve |
..\3. Hydrology\data |
Land Use TD.shp |
Shapefile for land use |
..\2. Project Setup\data |
Aerial Pre-Disaster.tif |
Aerial image pre-disaster |
..\3. Hydrology\data |
Step 1: Load google aerial image#
Use Quick Map Services Plugin with the Contributed Pack to load aerial images into the layer. This image is relatively current.
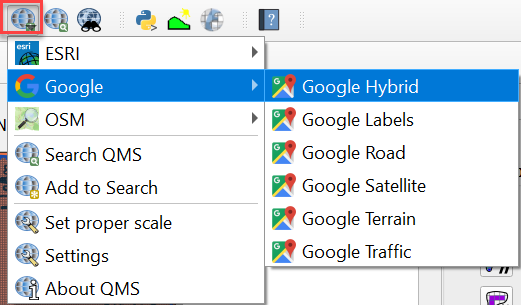
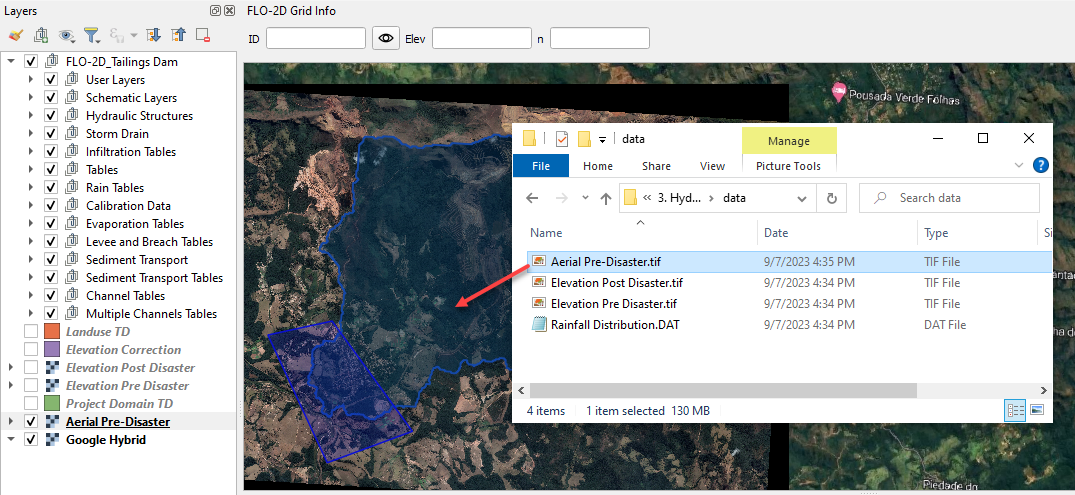
Select the Google layer and drag the Aerial – Pre Disaster.tif onto the Map.
Step 2: Set up rainfall#
Collapse all FLO-2D Widgets and Expand the Rain Editor.
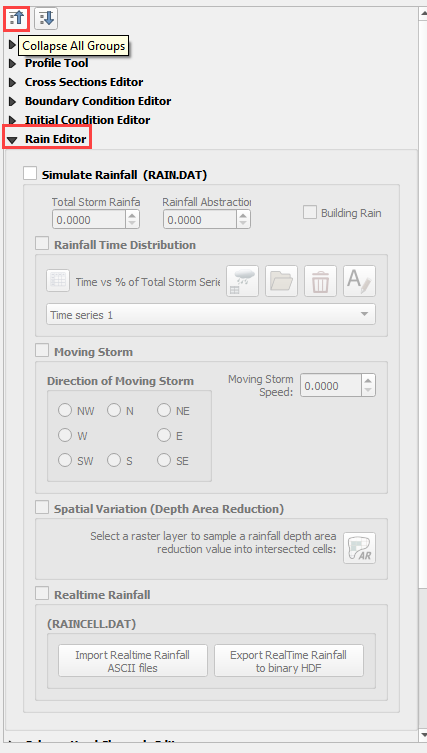
Check Simulate rainfall and add 421 mm to the total storm rainfall.
Click the Import icon and load Rainfall Distribution.DAT
The file is in 3. Hydrology/Data
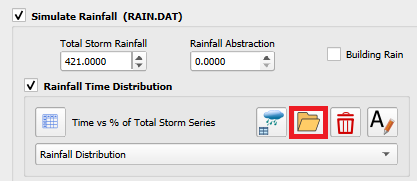
The rainfall data is imported into the FLO-2D Table Editor.
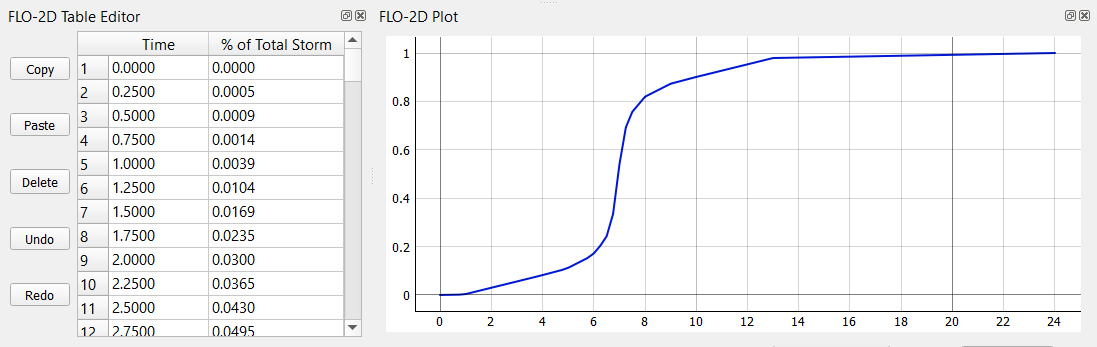
This method assigns uniform rainfall to every grid element. The rainfall is added to the grid as a depth over time. The depth is interpolated linearly for every timestep that falls between data points in the Rainfall time series table. The data is saved to RAIN.DAT file when the project is exported.
Step 3: Set up infiltration#
Click the Collapse all button to shrink all widgets.
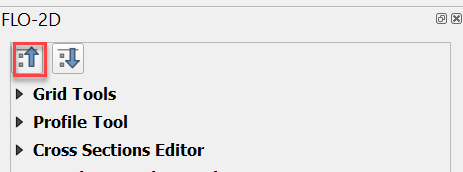
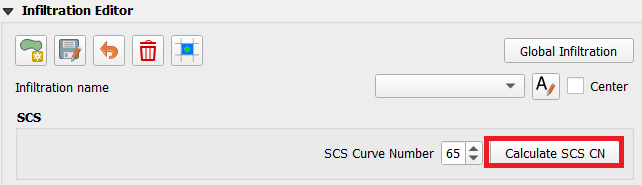
To assign infiltration data, expand the Infiltration Editor and click the Global Infiltration icon.

Check the Global SCS switch and fill the global variables. The Global variables will be used for any cell that is not defined by the S lines in the spatially variable data assigned to INFIL.DAT.
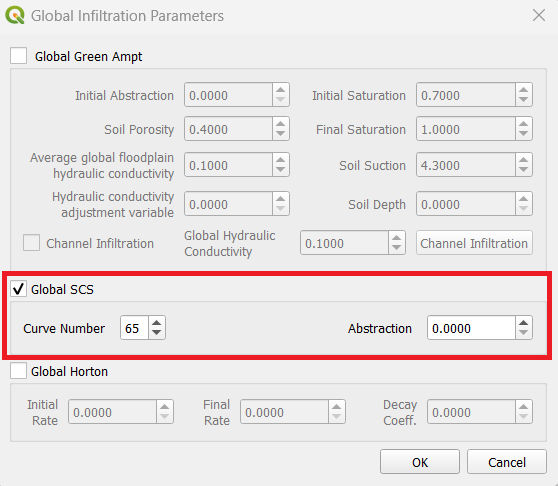
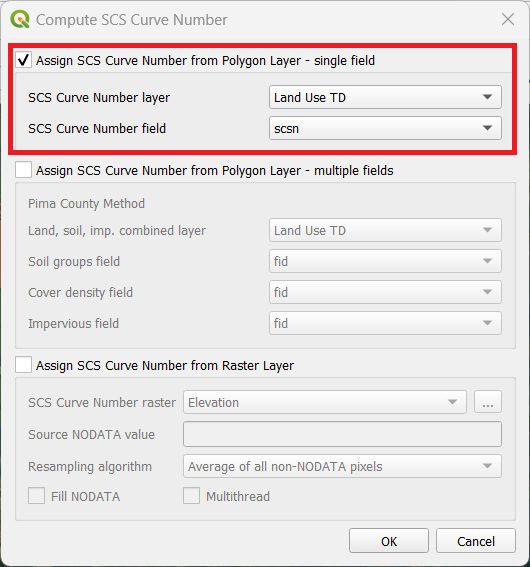
On the Infiltration Editor click Calculate SCS CN.
Specify the attributes as shown in the following image and click OK.
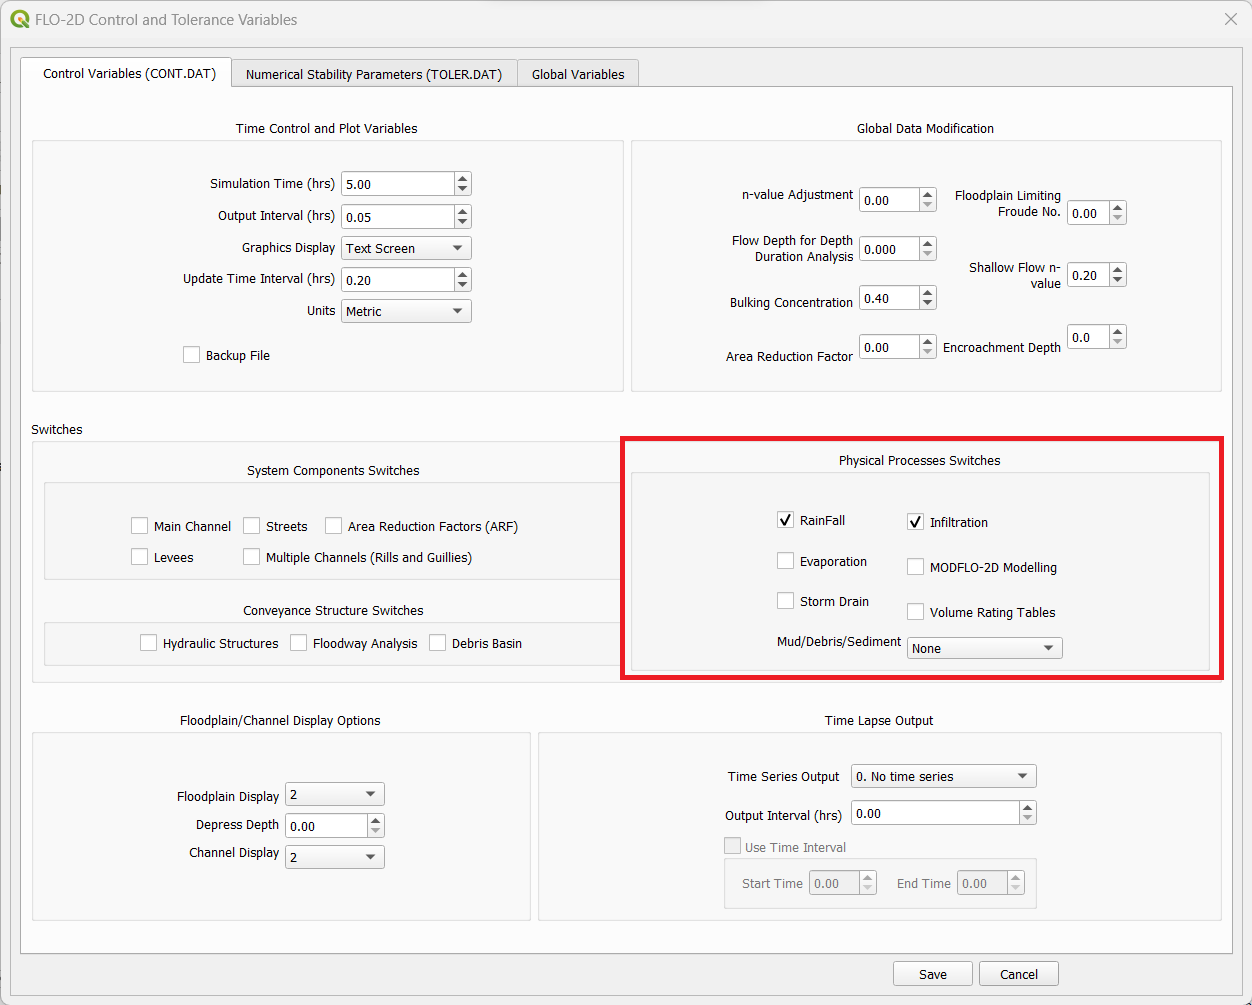
Step 4: Control variables#
Click the Control Parameters Icon. Make sure the Rain and Infiltration switches are turned on. Click Save to Close.

Step 5: Export and run the model#
Click the main Save icon on the QGIS toolbar.
Click the FLO-2D Data Export icon.

Review the image and Click OK
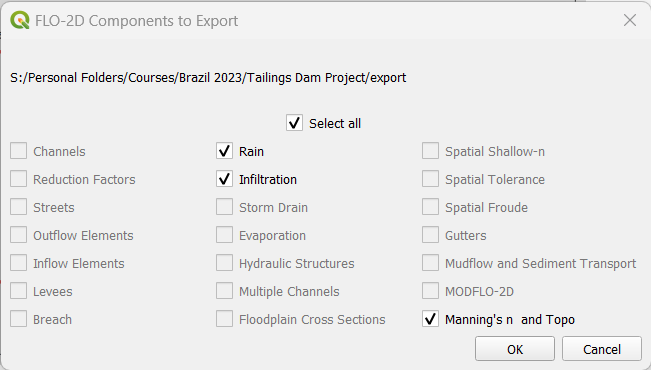
Create a folder named Export Hydrology and export the project. Once the project is exported click OK to close the export message.

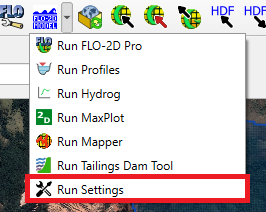
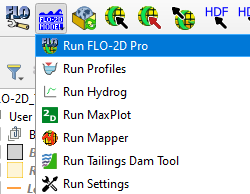
Before running FLO-2D for the first time, the Run Settings must be configured. Click on the drop-down arrow at the right of Run Simulation and click on Run Settings.
The Run Settings is used to configure the FLO-2D executable path and the export folder where the FLO-2D required input files are saved. Set the FLO-2D Folder to the FLO-2D PRO folder: C:\Program Files (x86)\FLO-2D PRO and the Project Folder to the Export Hydrology folder. Click OK to close the message.
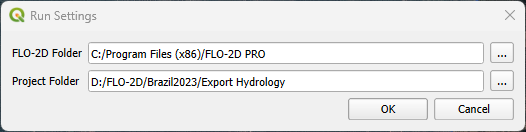
The Project Folder is automatically updated to the export folder every time data is exported. If the user wants to run FLO-2D from another export folder, the Project Folder on the Run Settings must be configured.
Click on the Run FLO-2D icon to run the simulation.
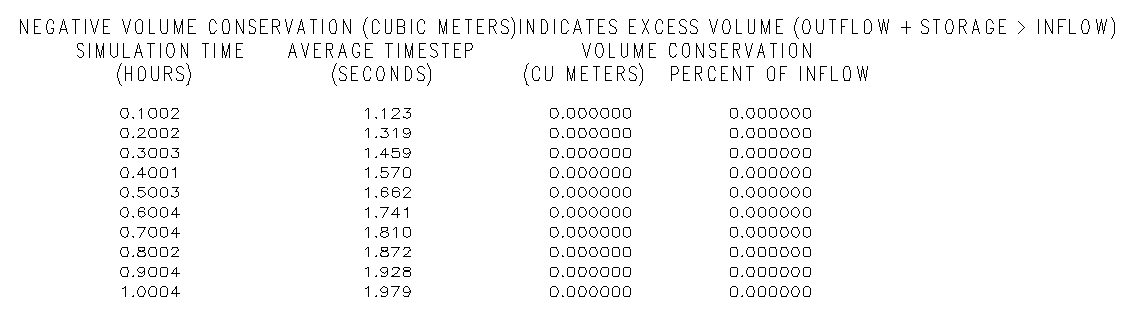
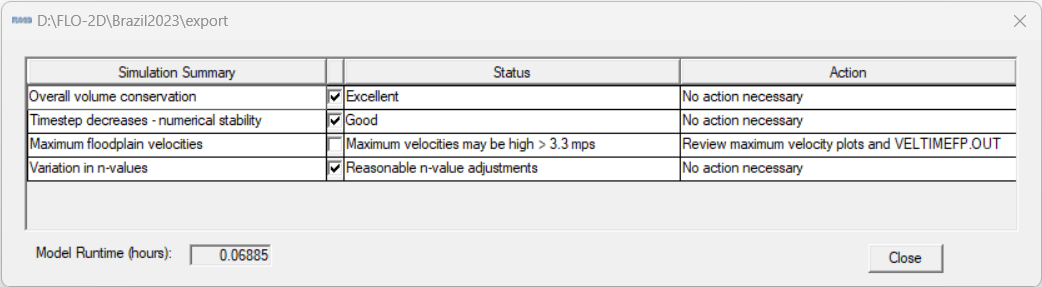
The model runs in Text Mode. When it is finished, check the simulation summary data for possible errors and click close.
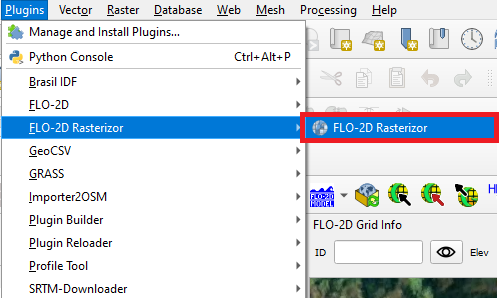
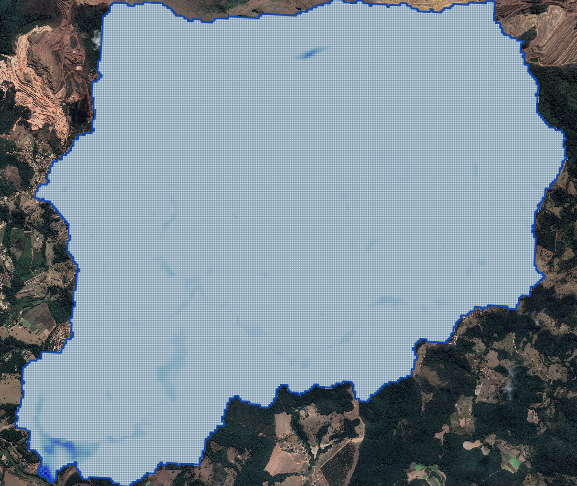
Step 6: Load results#
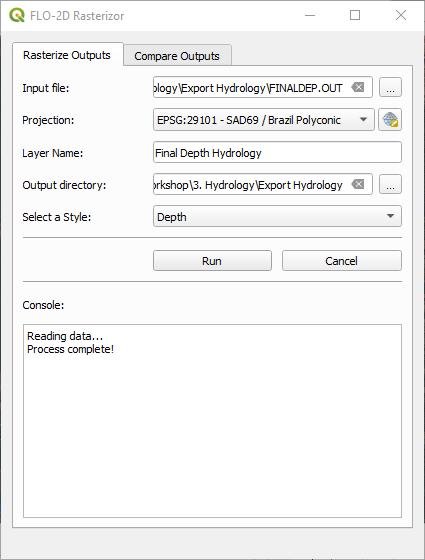
To visualize the results, open the FLO-2D-Rasterizor plugin.
Select the FINALDEP.OUT file in the Export Hydrology folder. The app will select the project CRS. Name the layer as Final Depth Hydrology, select the Output Directory as the Export Hydrology folder and set the style to Depth.
Rasterizor can be used on other *.out files. It is limited to files with GE X Y N format. Those are Grid element number, xcoord, ycoord, and n is the reported variable. Output file descriptions are available in the Data Input Manual Chapter 5.