Coastal Set-Up#
Overview
Please use these instructions to get your computer ready for Coastal Training Package.
Important
Complete FLO-2D Installation & Setup prior to continuing on this training.
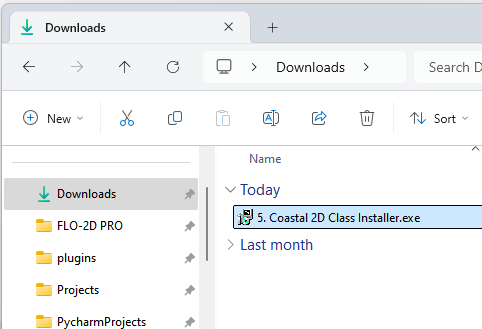
Step 1: Get the Data#
Download the data installer.
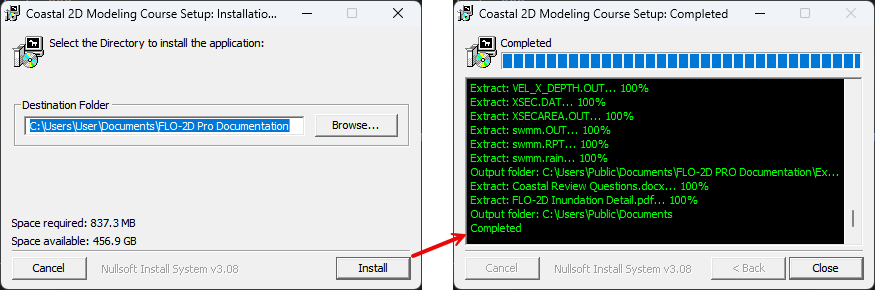
Run the installer.
Close the installer if a Completed message appears.
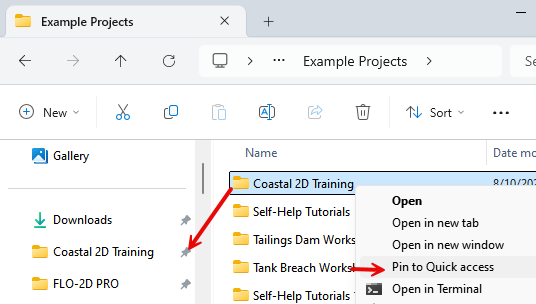
Navigate to the training folder and pin it to Quick Access.
Path: C:\Users\Public\Documents\FLO-2D PRO Documentation\Example Projects\Coastal 2D Training
Step 2: Setup QGIS#
Note
Setup must be performed by the student not IT Admin as it will define the Student’s QGIS Profile.
Load QGIS

Close the Browser Panel or dock it with the Layers Panel. The video shows how to dock it.
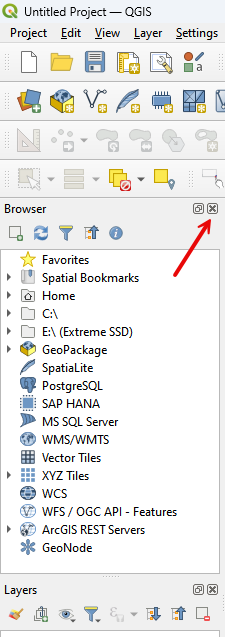
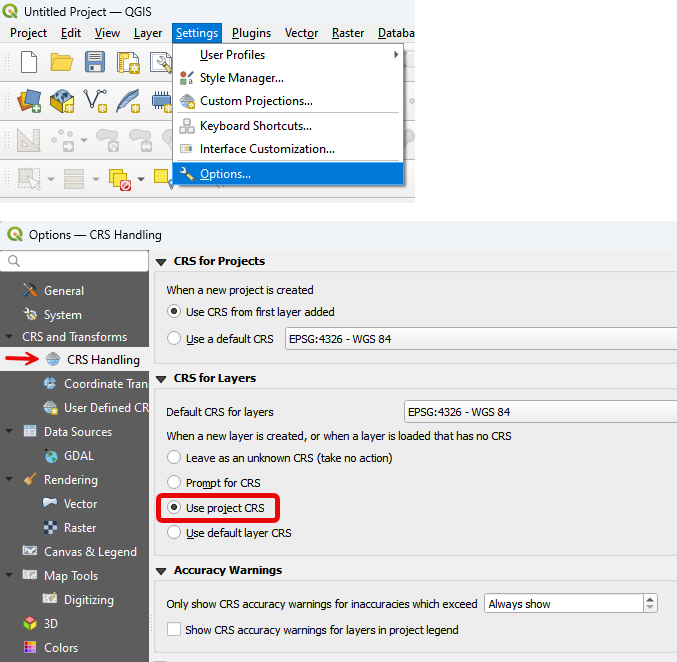
Set the CRS options as shown in the following image.
Step 3: Add Plugins to QGIS#
Open the Plugin Manager.

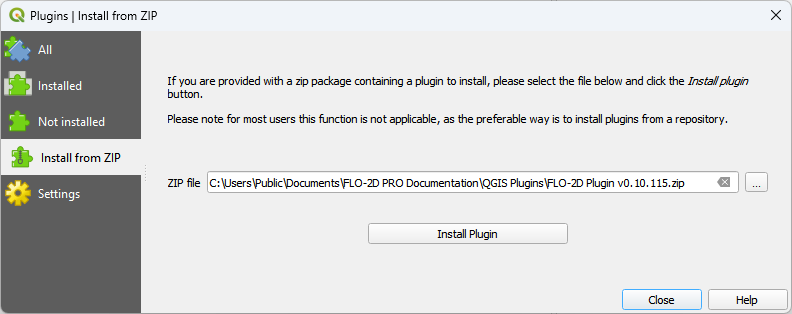
Add the FLO-2D Plugin v0.10.115. Use Install from Zip option.
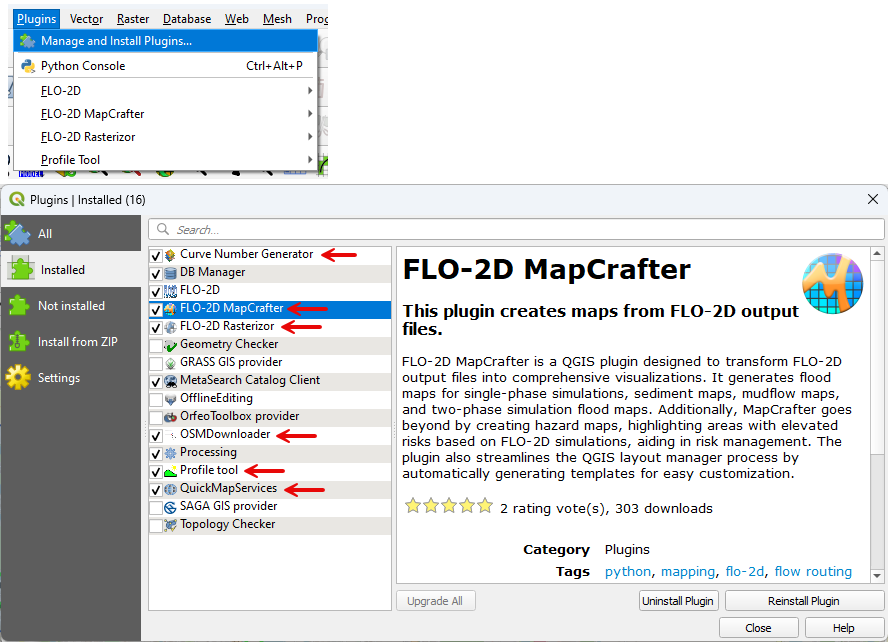
Add all other plugins using the normal plugin installation method from the All Group.
Note
If the following image is hard to see, open it in a new tab.
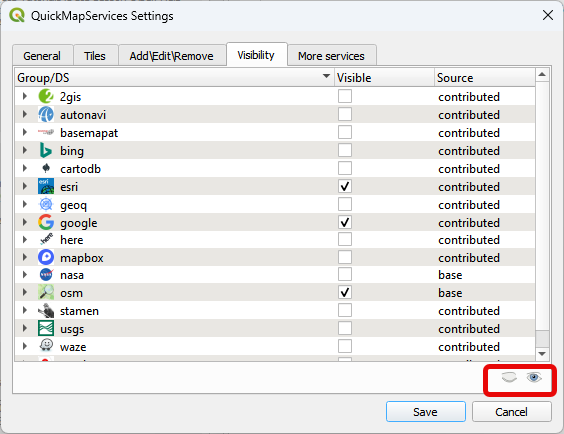
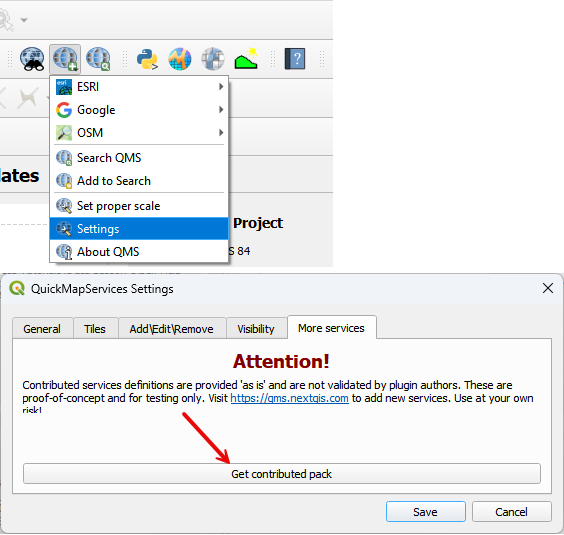
Step 4: Add Quick Map Services#
Open the Quick Map Services Settings.
Go to the More Services tab and Get Contributed Pack
Uncheck all visible items and turn on Google, ESRI, and OSM.