Mapping Results#
Required Data
File |
Content |
|---|---|
*.out |
FLO-2D output files |
*.out |
TIMDEP time series output |
Path: …\Coastal Training\Project Data\Project Export Folder
Step 1. Simplify map#
Uncheck unnecessary layers like Grid and Elevation, and Google Hybrid.
Set up the layers.
Collapse all layers
Click the Layers Styling button.
Right click the Layers area and create a new Group called Results.
Step 5. Import a map with Rasterizor#
Review files that can be loaded
Load a file
Load an alternate file
Create a difference map
Step 6. MapCrafter#
Todo:
Load Maps
Load Review if available
Load Layout
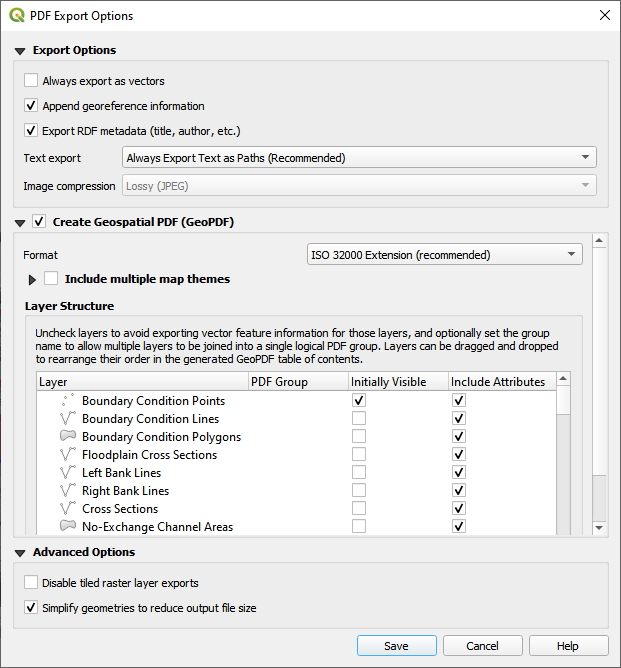
Click the export PDF Button

Save the PDF.

Set the following parameters:
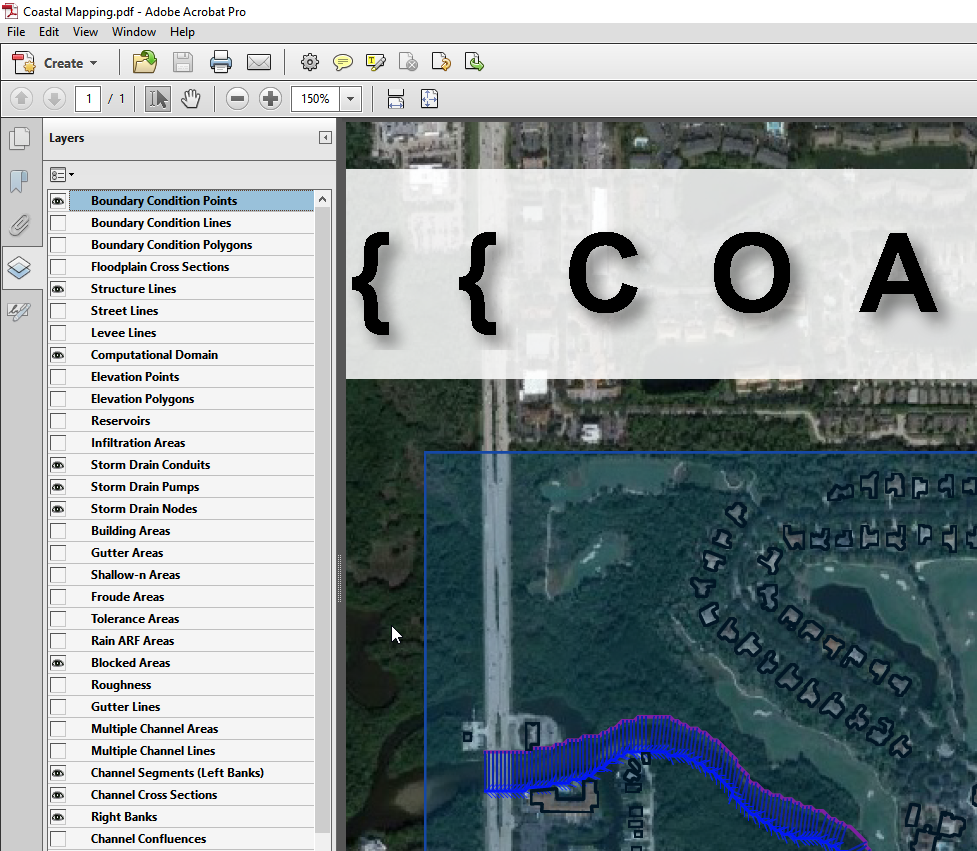
Load the pdf to review it.
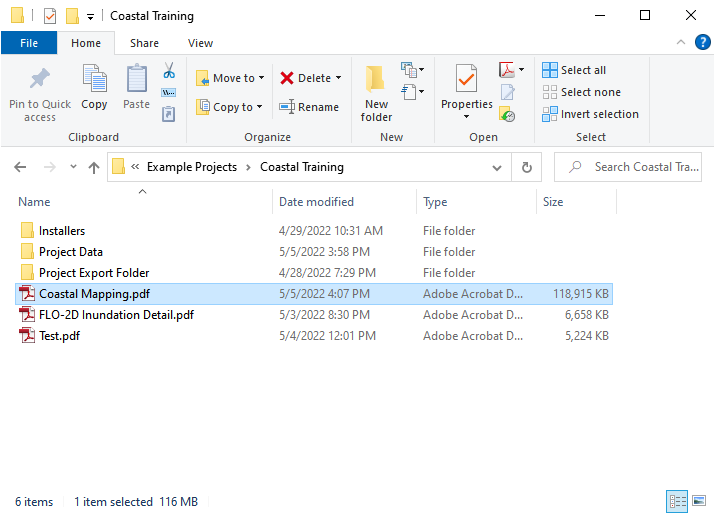
The map detail is very solid and the resolution is good.
Step 2. Import results from mesh tool#
Click the Data Management button.

Select the Mesh option.
Navigate to the FLO-2D Project folder and select the DEPTH.OUT file.
Click Add and select the 2D layer and click OK.
Drag the New Layer and drop it into the Results Group.
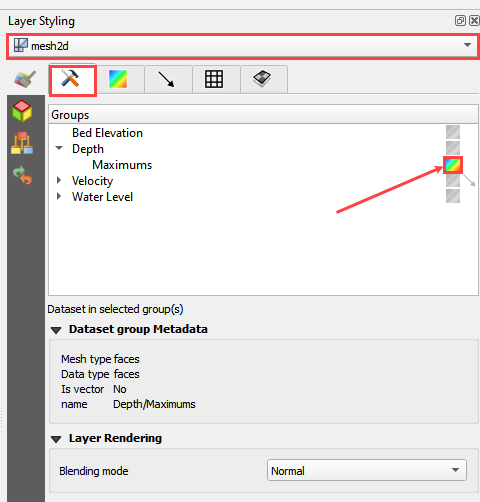
Step 3. Load the Layer Style panel#
Dock the layer styling panel with the FLO-2D widgets.
Select the Depth layer in the Results Group.
Drag the edge of the Layer Styling Panel slightly to the left to make it wider.
Click the multi-colored block next to Depth to load Depth from the mesh layer.
Update image
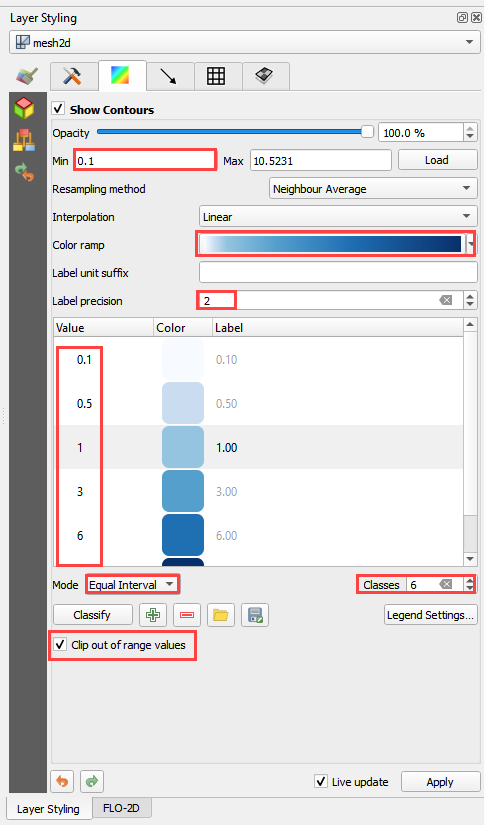
Step 4. Animate the flooding - Update#
Update.
Change the min depth to 0.25ft.
Change the color ramp to Blues.
Move down and change the Mode to Equal Interval.
Change the number of classes to 5.
Check Clip out of Range Values.